Starting Your Web Inventory
In this tutorial we will describe how you can structure the products you sell and what is the practical value of using easystoneshop for such purposes.
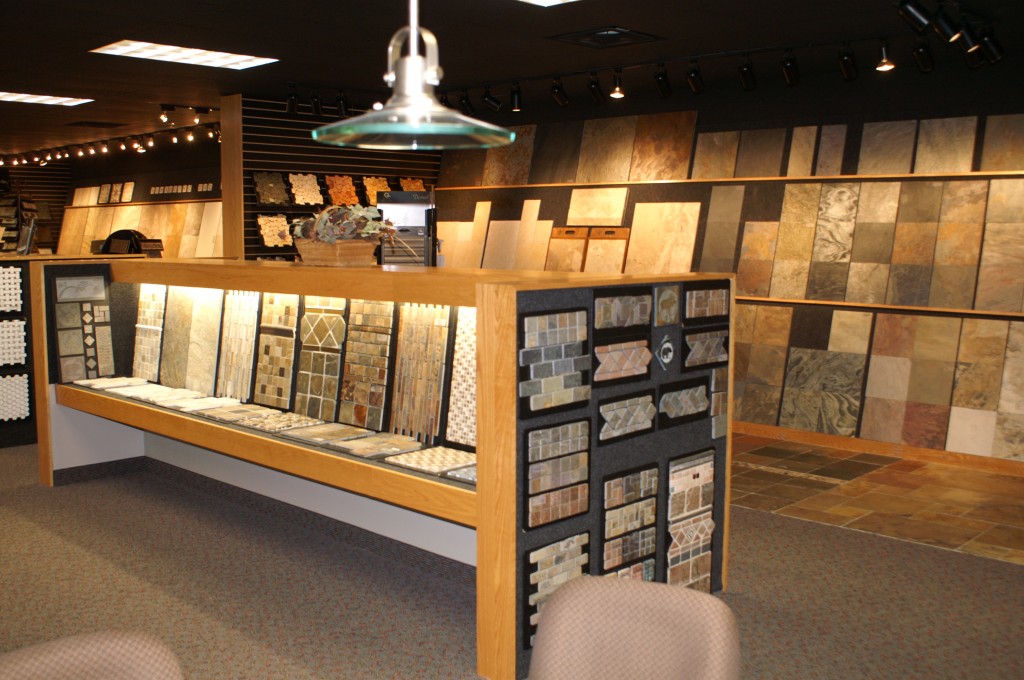
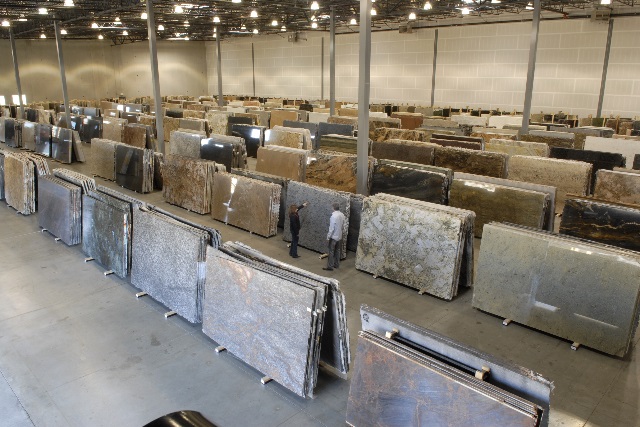
Lets imagine that you have a showroom or a big warehouse with different stuff: granite, marble, quartz, etc. It is not easy to remember all the clients and to take control of their orders. How much was bought? How much is now left and how much was allocated for work? Working with this module and draging all the information here you will get the answers to these
questions immediately,for it creates the structure and the order where everything is on its place, visible and easy to find.
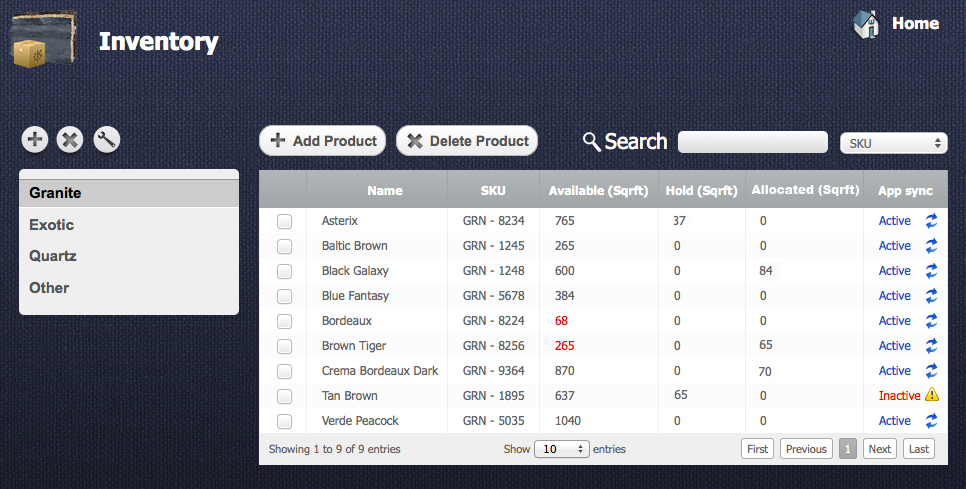
The first steps are quite simple. Here we've got two main tables featuring types of the products or categories, and products themselves. You will see that some default categories with products will be offered to you at once. But both tables are editable, which means that you are able to add and remove anything they contain.
Soon you may have dozens of products and much more added units and then using the search panels will be useful. The Inventory module in easystoneshop has two of them. Here we will describe the first one. Search of the products is made according to SKU and Name parameters. The first one, SKU, stands for – Stock Keeping Unit, a unique identifier for each distinct product and service that can be purchased in business. The second one is simply a product's name. Only one of them is active at a time.
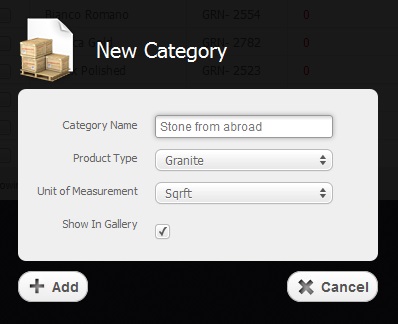
Buttons with a plus and a cross serve for adding and deleting the categories correspondingly . The menu of adding a new category has a field “Units of measurement”, created specially for avoiding adding the products which can't be measured any other way. A button with a key is for editing categories, you will be able to change the category's name, the product's type and decide whether to show it in your gallery or not. If you delete all the categories which bear names, the items which they contained will appear in a default “Other” category. It's impossible to bring them back, you'll have to create new ones, so, be careful.
So, you have already chosen which category your slabs will be added to, now you must actually add them. The corresponding buttons of adding and deleting functions are to the right. After you have chosen the needed product from the list the work with it starts and the variety of options and changes you will have at your disposal and will be able to make are described in our next tutorials which we suggest you reading.