Docs
This section is the starting point of using messaginag and printing documents functions of Easystoneshop. Here you will be able to create, organize and take control of the list of templates of your future documents. Here you may addd them, edit their content and remove the unnecessary ones.
Adding Docs
Return to topSo, to better understand how the system works you must remember one thing - first you add, compose and save documents here, in this module, then they become available in other modules where they can be used. Lets imagine that you want to create an email which must be sent to a couple of your clients.
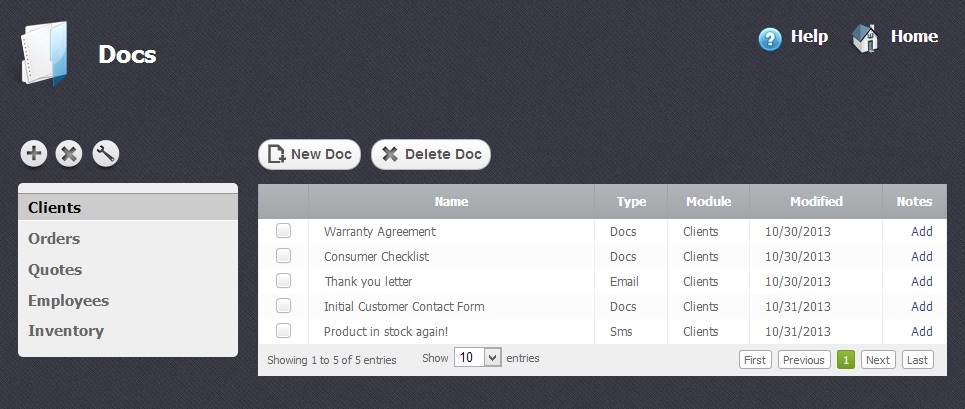
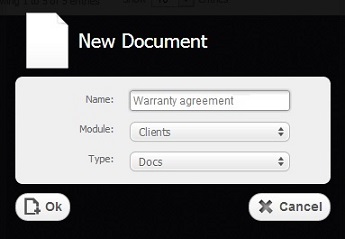
First we add a document. To do that you have to click on “New Doc” button. After that a new window will appear. You should choose a Name for your document.
The choice of Module depends on the idea of your future document. If it is an email to client, you should choose "Clients" module. The created template will be available only in this module, the one which was chosen during the creation process.
The choice of Type of the document must be chosen depending on the way you wish it was used. Documents will be available only for printing, while text messages (sms) and emails only for sending. So, we choose "Email" and click on "Ok" button.
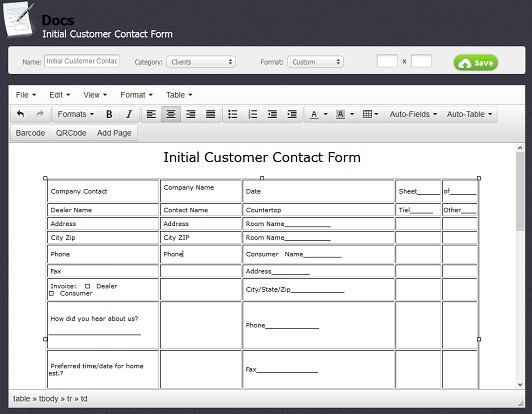
After that the window of a newly created document will appear and you may immediately start composing and editing it. Only after you did this and clicked on the big green "Save" button you may use the template.
To send the email which you have just created you must go to the list of your clients in the "Clients" module, select a checkbox  opposite the client, click on "Send message" button and choose the template. A preview of your document is always shown to you before its sending or printing.
The procedure of using templates is similar in all the modules. It is described in details separately in each module that supports these functions. As well you may consult Messaging and Printing Documents help sections of the "Docs" module.
Editing Documents
Return to topYou can edit texts and tables just the same way as you do it in other programs that work with such types of documents: change look, size, structure, location, fonts, etc. It is possible to choose a different name and category for your document any time.

Here is a detailed description of available text editing functions:
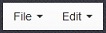
Files/Edit – These are the functions of managing documents. With their help you can create new ones, copy and paste their content as well as to undo these actions.
Format – The main editing function changing the selected content. Here you can make the text bold, italic, underlined, add a superscript or subscript to it. With the help of "Headers" function the size of the text is changed. " The "Alignment" section of this menu allows to order the text according to the sides of the document, its center or justify it. Finally, if you decided to cancell all the actions performed in this menu you may use "Clear Formatting" function.

Bullet/Numbered list - Two different types of lists often used in text documents are also present here. As soon as you click on the appropriate thumbnail the list will appear in your document.

Decrease ident/Increase ident - Functions broadening and shortening the paragraphs.

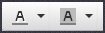
Text color/Background color - A very important feature of each document editing is the ability to change the color of the text to highlighten the most important things or just to make your doc bright and drawing attention. You may also change the color of the background.
Besides texts it is also possible to add tables to the documents and edit them. To do that you have to click on the corresponding thumbnail and choose "Insert table" function selecting the number of desired cells, rows and columns by your mouse and then clicking one time the right button to confirm the choice.
![]()
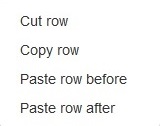
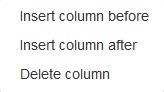
When you add a table or a text it is recommended to save the document. After you have added a table you may stretch it and fill in with the information. If you need to broaden or shorten your table you may do it by placing the cursor inside the table and choose the necessary function: insert/cut/delete a row or column after or before. You may copy and paste them using similar functions. As well it is done by merging and splitting cells.

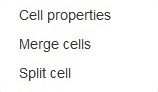
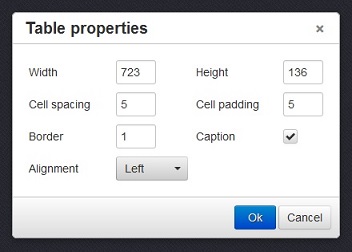
As it can be seen in the pictures, each component of the table has an available "Properties" section in the functions menu. All of them look almost similar to the main "Table properties" menu that can be seen in the picture below. Making any changes in your table will require saving them, otherwise the result won't be seen on the screen.
Managing Categories and Table
Return to topThe categories were created to organize your templates according to their type and reference to a certain module. It doesn't matter if you put a document into the wrong category while creating a doc, they are only made for convenience and do not influence anything. You may edit the list of categories with the help of corresponding “+” and “x” buttons. If you want to edit a concrete category you must select it and press the button with "key" icon.
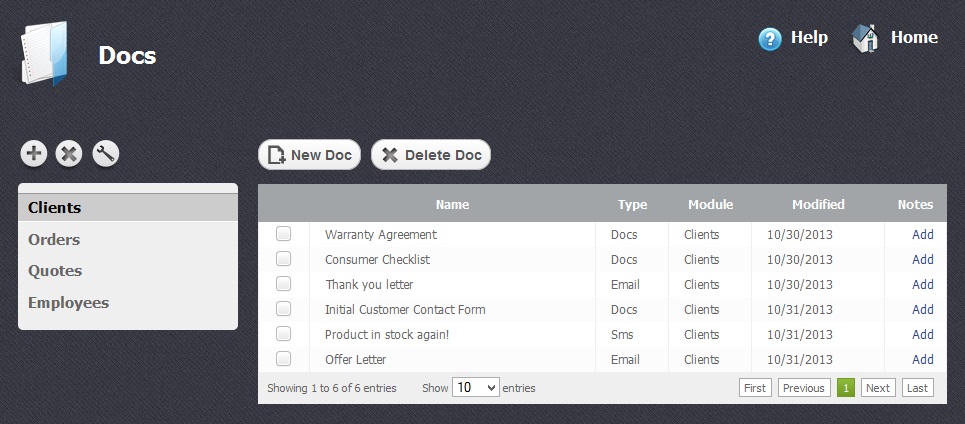
As soon as you add a new document it will appear in the table of docs. To sort data according to each column of the table, you just have to click on some column's name. If you click on the same column once again the sort direction will be changed.
The table is divided into several columns:
- Name – Name of the document
- Type - Type of the document: doc, email or sms
- Module – name of the module to which the document reffers and where it is be available.
- Modified - A precise date the document was created.
- Notes - A field where you can add some additional information of your choice.
Deleting Docs
Return to top
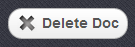
To delete an existing document you have to select a chechbox opposite it and click on "Delete Doc" button. Please be careful, because after that you will not be able to renew the deleted doc.