3DShowroom
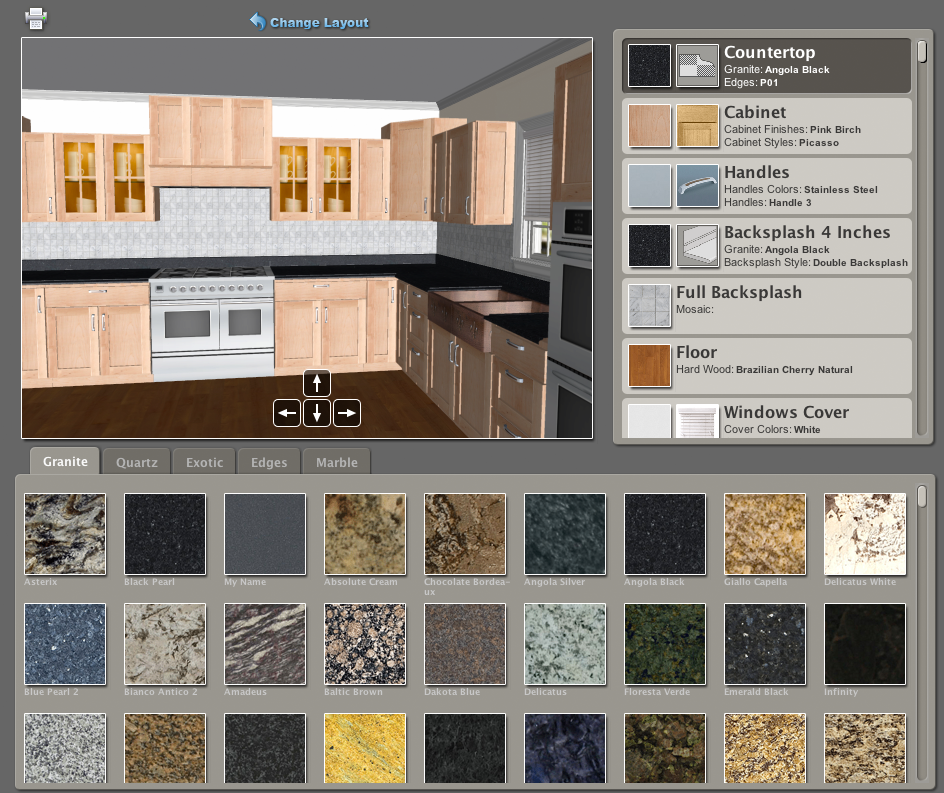
It is a web application for kitchen and bathroom design. With this App user can recreate his kitchen on your website, and then select stone color for countertops, backsplash, floor and even for a trim.
Adding Colors and Edges
Return to topColors will be added automatically after you add products to your inventory. See how to add products to inventory here. Edges will be added automatically as well after you add them to your services. See how to add edges to services here.
Installation
Return to top3DShowroom can be installed on any website. To install it on your website you have to click on a “Settings” button ![]() in the 3DShowroom frame, after that a “3DShowroom Settings” window will appear. If you see a ”Buy It” button
in the 3DShowroom frame, after that a “3DShowroom Settings” window will appear. If you see a ”Buy It” button ![]() instead of the “Settings“ button then you should click on it and buy some subscription plan, after that the setting button will appear.
instead of the “Settings“ button then you should click on it and buy some subscription plan, after that the setting button will appear.
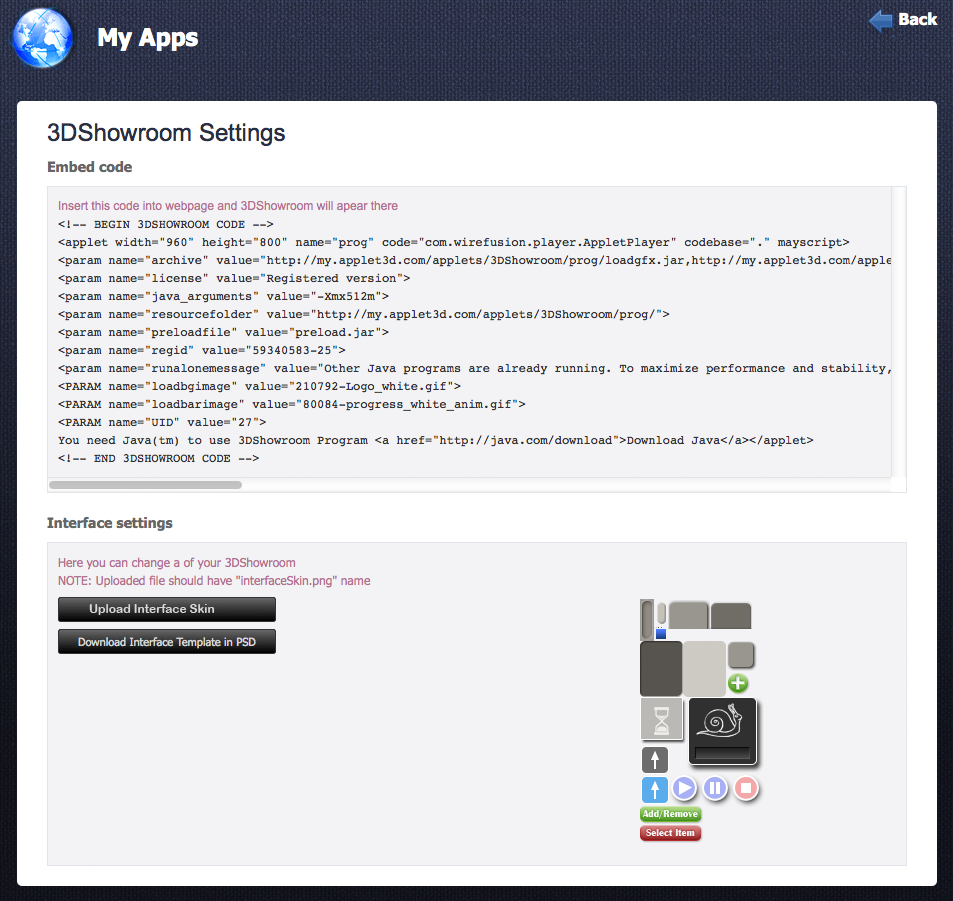
To install 3DShowroom you have to copy a code from the “Embed code” field and paste it into your webpage.
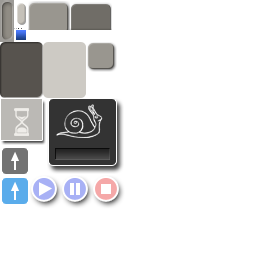
Changing of Interface Skin
Return to topYou can create custom user interface skin for 3DShowroom! To do it you have to upload your own user interface skin. The interface template in PSD format (Photoshop file format) you can download by clicking on “Download Interface Template in PSD” button. After that you will see image like below.
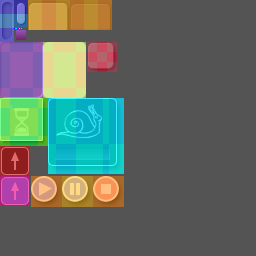
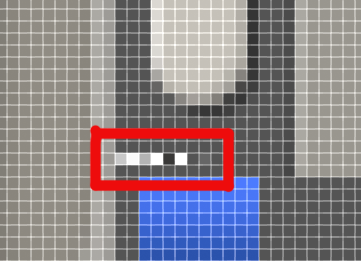
This file contains a color mask that will help you to understand where the controls skins are located. Also you can change a background color and fonts colors. For this purpose file contains group of pixels that are marked with read rectangle in the picture below.
After you finished the interface skin modification you should upload file with name “interfaceSkin.png” by clicking on “Upload Interface Skin” button. Please make sure that uploaded file doesn’t have a background and all interface items are on their places, like on the example below.